Add AI chat for your website in under five minutes
The fastest path is a single script tag pasted into your site's header. If you prefer a native install, Asyntai publishes plugins for the major CMS platforms. Either route gets a trained assistant running on your pages before lunch.
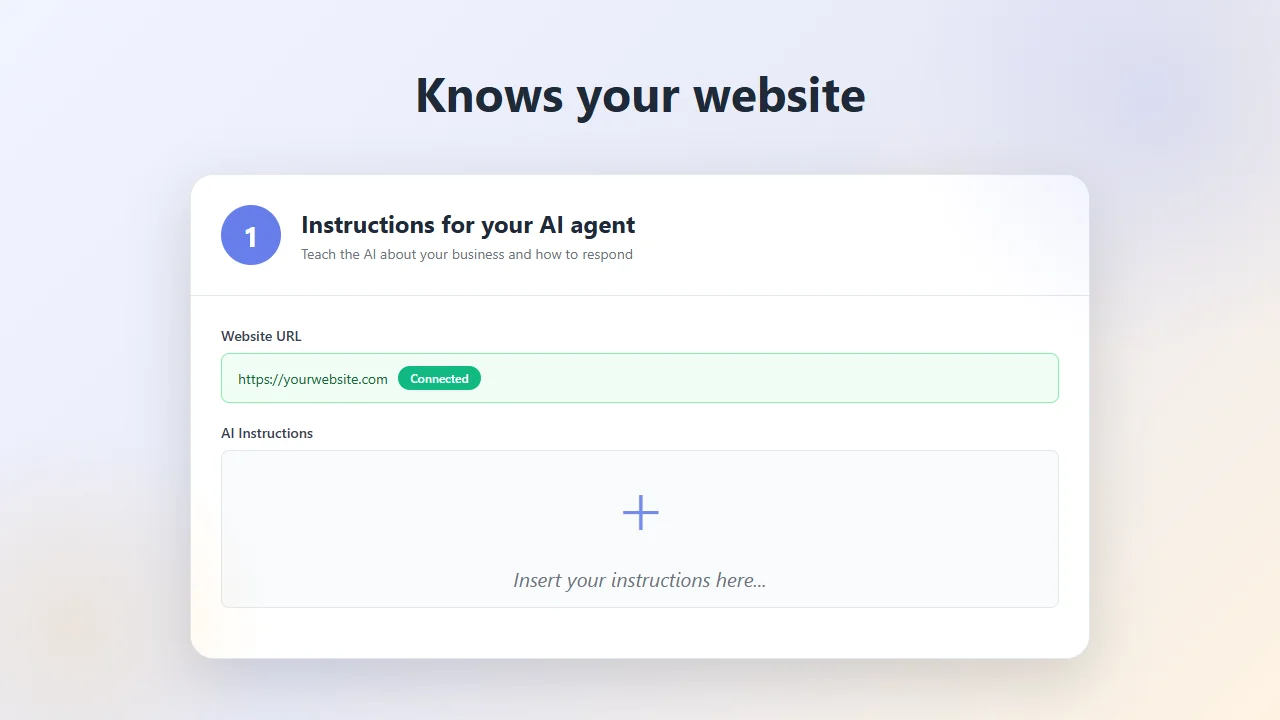
Preview what your site would look like with AI chat added
Drop in your URL and see the assistant answering questions from your real pages before you install anything
The universal route: paste a five-line snippet into your header
If your website lets you edit the header (almost all do), adding AI chat is the same motion as adding Google Analytics. Copy the snippet from your Asyntai dashboard, paste it once, save, and the assistant appears on every page across the entire site.
- Create an account, grab the tagSign up, confirm the URL of the site you want covered, and the dashboard generates a ready-to-paste snippet keyed to that domain. Free plan works for the install and first 100 visitor messages.
- Paste into the header of your siteInside your CMS header field, a "custom code" area, or the theme's template file — anywhere between the opening
<head>and closing tag. The snippet is async, so it never blocks your page. - Reload and the assistant is liveRefresh any page on your site and the launcher button appears in the corner. The crawler has already ingested your public pages, so the assistant is ready to answer questions on the first refresh.
Prefer a plugin? Install through your CMS admin instead
Some teams would rather not touch theme files. For those setups, Asyntai offers dedicated plugins that handle the install entirely inside the admin interface — no code editing, no snippet pasting, no developer pull request.
- WordPress and WooCommerceSearch for Asyntai in Plugins → Add New, activate, then paste your site ID from the dashboard into the plugin settings. The plugin injects the script automatically across every page and admin-safe area.
- Shopify (Basic through Plus)Install the Asyntai app from the Shopify App Store, approve the embed permission, and the widget activates on the storefront theme without editing Liquid files.
- Odoo and other platforms via snippetPlatforms without a dedicated plugin — Odoo, Ghost, HubSpot CMS, Webflow, Squarespace, Wix, Magento, Drupal — all accept the snippet through their built-in custom-header field, which each platform exposes in its admin.
The exact line you paste to add AI chat to your website
Here's what the snippet looks like once you've signed up. Replace the placeholder with the ID shown in your Asyntai dashboard and drop it before the closing </head> tag.
- Register at asyntai.com (free plan, no card required) and enter the URL of the site you're adding chat to.
- Open the "Install" tab in the dashboard and copy the snippet — it already contains your unique site ID.
- Paste it into your site's header: WordPress header plugin, Shopify theme.liquid, Wix custom code, Squarespace code injection, or your theme's master template.
- Save, open an incognito tab to bypass cache, and confirm the launcher button loads. You've added AI chat to your website.
<script src="https://asyntai.com/widget.js"
data-id="paste-your-site-id-here" async>
</script>
# Save. Refresh. Done — AI chat is now on every page.
Adding AI chat to your website — FAQs
The practical questions people ask the first time they walk through the install.
How long does it actually take to add AI chat to my website?
From signup to a working launcher on your live site, most people finish in three to five minutes. Two of those minutes are account signup, one is copying the snippet, one is pasting it into the header, one is refreshing to confirm. Any additional time you spend afterward is polishing — picking colors, writing a welcome line, uploading a document or two — not fighting the install itself.
Do I need to know how to code to add the widget?
No. If you can edit a post in your CMS, you can paste a snippet into the header area your CMS already exposes. WordPress users who don't want to touch theme files can use a header-and-footer plugin or the Asyntai plugin; Shopify users can use the app listing; Wix and Squarespace users use the built-in custom-code injection under site settings. Nothing about the install requires writing code or editing files through FTP.
Which CMS platforms are supported?
Practically anything that lets you place a script tag in the page header, which is the overwhelming majority of platforms. That includes WordPress, WooCommerce, Shopify, Wix, Squarespace, Webflow, Ghost, HubSpot CMS, Odoo, Magento, BigCommerce, Drupal, Joomla, Craft, Kirby, and custom-built sites on any stack. Native plugins currently exist for WordPress, WooCommerce, and Shopify; the rest install via the snippet route.
Will adding the widget slow down my website?
The loader is served asynchronously, meaning the browser keeps rendering your page while the widget downloads in the background. Visitors see and interact with your content at the normal speed; the launcher button just appears a moment after the page finishes. Because the widget lives outside your main bundle, it doesn't touch anything in your theme, so the rest of your site's performance profile is unchanged.
What should I do right after I've added the widget?
Four short tasks are worth doing on install day. First, open the dashboard and pick brand colors that match your site. Second, write a welcome line in your own voice rather than keeping the default. Third, upload anything the assistant should know that isn't on your public site — internal pricing sheets, a product spec PDF, a returns policy. Fourth, type five or six questions real visitors ask and read the answers; tweak the behavior rules if anything sounds off. Thirty minutes of polish separates a generic install from one that feels custom-built.
Can I add the chat to more than one website?
Yes — each plan covers a different number of sites. Free includes one, Starter covers two, Standard covers three, and Pro covers up to ten. Each site gets its own snippet with its own ID, its own crawled content, its own brand colors, and its own rules. Agencies running the widget on several client sites and founders running a family of brands both use the multi-site structure to keep things clean under a single Asyntai login.
Does the assistant speak my visitors' languages once it's installed?
Out of the box, the interface and the assistant together cover 36 languages. Language detection happens per conversation based on how the visitor types — no dropdown for them to click, no subdomain to configure for you. Install once, and a visitor from São Paulo types Portuguese and gets Portuguese back, while a visitor from Seoul types Korean and gets Korean back. You don't have to configure translations or run a separate plugin.
What does it cost after I add the widget and traffic ramps up?
The free plan carries you through 100 visitor messages every month. When your traffic outgrows that, paid plans start at $39 per month for 2,500 messages and two-site coverage; Standard and Pro scale further for higher-volume sites. Pricing is per conversation rather than per agent seat, so a widget handling thousands of visitor exchanges a month costs the same regardless of how many teammates you add to the dashboard.
Can the assistant recognize logged-in users on my website?
On Standard and Pro plans, yes. Before the widget script loads, your site populates a JavaScript object called window.Asyntai.userContext with whatever signed-in details you want the assistant to be aware of — a first name, a plan tier, a recent order number, a role. The assistant then weaves that context into replies, so a paying customer asking "what's my next billing date" hears a personalized answer instead of a generic one. Nothing is pulled from your database automatically; you push only the fields you choose.
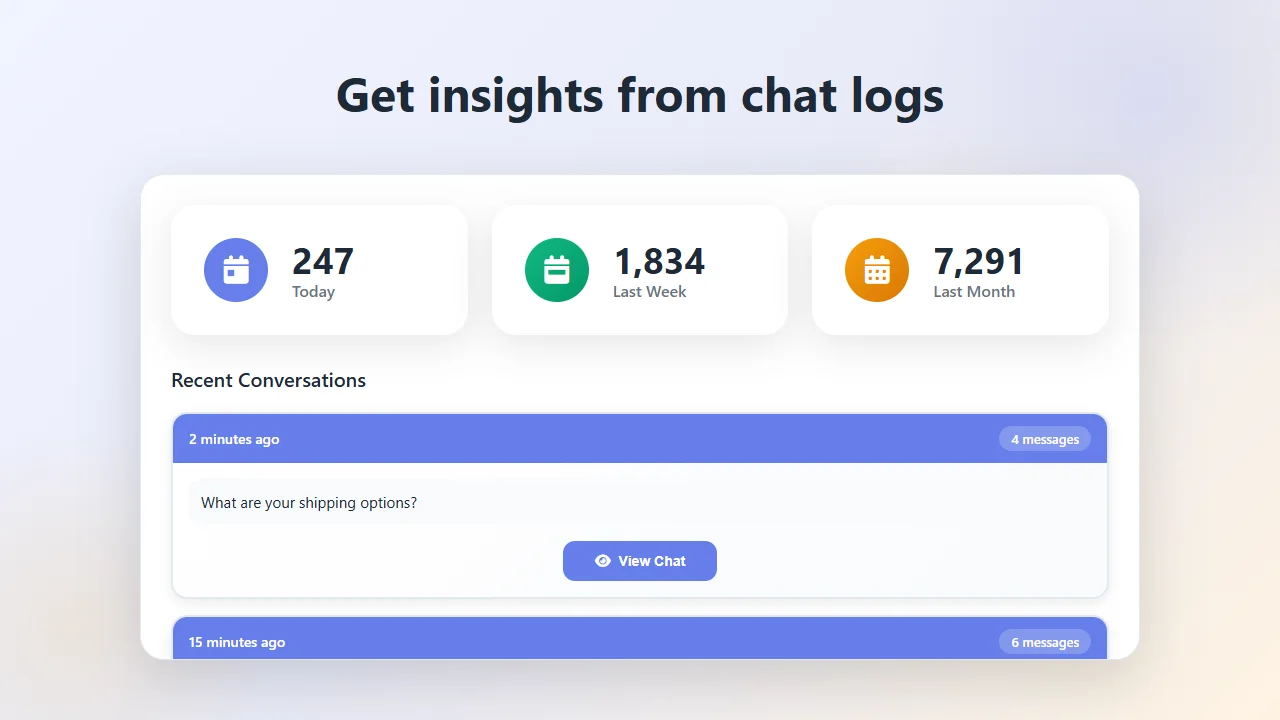
Where do the leads and conversations go after install?
Every conversation streams into the Asyntai dashboard, with tags for the questions that got resolved and the ones where the visitor asked for a human. If the assistant captures an email address because a visitor needs follow-up, that contact record appears with the full transcript attached. Optional email notifications send the same transcript to whichever inbox you nominate, so your team doesn't need to log in to the dashboard to catch the handoffs.
Adding AI chat for your website — a walkthrough of what actually happens
When someone types "add ai chat for your website" into a search box, the intent behind the query is almost always the same: they have a site, they've decided chat is worth trying, and now they want to know the literal steps. Not the philosophy of conversational AI, not a feature comparison spreadsheet — just a walkthrough from "I don't have chat yet" to "chat is live on my homepage." This page is structured around that practical moment. If you skim nothing else, here is the route: sign up, copy the snippet, paste it in your header, refresh. That sequence handles roughly ninety percent of installs, across every platform that exists on the open web today.
The header-paste method works because every serious CMS treats the <head> section as a known extension point. WordPress exposes it through themes or plugins. Shopify exposes it through the theme.liquid file or a dedicated script-injection area. Wix exposes it through Settings → Custom Code. Squarespace exposes it through Settings → Advanced → Code Injection. Webflow exposes it in Project Settings → Custom Code. Ghost surfaces it under Settings → Code Injection. Custom Next.js and Rails and Laravel apps all have their own template files you can drop the tag into. The experience varies slightly from platform to platform, but the mental model is identical: find the header area, paste the tag, save.
The reason this path works universally is that the widget is just a JavaScript file hosted on our servers. Your site loads it the same way it loads any other third-party tool — Google Tag Manager, a Meta Pixel, a Hotjar script, a Stripe button. Nothing about the install requires your site to change its architecture, upgrade a framework, or integrate with an API. The tag calls home, loads the widget, identifies which site ID it belongs to, pulls the appropriate configuration, and renders the launcher. From the browser's perspective, your website doesn't gain any new dependencies; it just now has one extra asset loading asynchronously alongside whatever else you already use.
If you'd rather not touch your template at all, the native plugin route is available for the biggest platforms. WordPress users can search for Asyntai in the plugins directory, activate it, and paste a site ID into the settings screen — the plugin handles the rest. Shopify users can install the Asyntai app through the App Store, approve the theme embed, and the chat appears on the storefront without anyone opening the code editor. For agencies and freelancers installing on behalf of a non-technical client, the plugin route is usually the simpler handoff: the client owns the admin credentials, the agency walks them through three clicks, and nobody has to share theme access or SSH keys.
Once the tag or plugin is in place and the launcher is visible on your pages, the second phase begins — the part that takes a generic assistant and turns it into something that feels like it belongs to your business. On signup, our crawler had already walked your site and ingested the public pages, which means the assistant can answer basic questions from minute one. The refinement work that follows is where teams invest the bulk of their time. Colors and positioning take a couple of minutes in the dashboard's live preview. Uploading internal documents — a pricing matrix, a returns policy, a product catalog, onboarding materials — pulls in everything the crawler couldn't see, so the assistant covers private information the same way it covers public pages. Plain-English behavior rules further shape how it replies: when to ask for an email, when to escalate, what topics to avoid, what tone to hold.
Testing before you announce the widget matters more than most teams expect. The cheapest insurance is typing the five or ten questions that your actual visitors ask most often and reading back what the assistant says. Most of the answers will land. A couple might reveal that something on your site is outdated, or that a policy is phrased in a way the model misinterpreted, or that a tone feels off. Every correction you make at this stage — editing a page, uploading a missing document, adding a rule — shows up in the next conversation immediately. There's no retraining cycle, no redeploy, no approval gate. Treat the first afternoon as iterative: watch, correct, watch again.
One detail worth planning for before you go public is the handoff path for questions the assistant genuinely cannot resolve. If a visitor asks for a human, or the assistant hits a limit of what it knows, the dashboard captures the visitor's email and the whole conversation transcript. You decide where that goes next. Some teams forward transcripts directly into a shared inbox. Others route them through their existing CRM via email parsing. Others log in to the Asyntai dashboard once a day and clear the queue. Whichever workflow you choose, set it up before you announce the widget to customers — a lead captured but never answered erodes the trust you were trying to build.
The multi-site scenario is common enough to mention up front. Agencies with a dozen client sites, founders running several brands, and publishers maintaining a main site plus a help center all end up installing the widget in more than one place. Every Asyntai plan covers a specific number of sites — one on Free, two on Starter, three on Standard, up to ten on Pro — and each site runs as its own independent install: its own crawled content, its own uploaded documents, its own colors, its own rules, its own conversation log. The admin switches between them from a dropdown inside the dashboard. You don't need a separate account per site, and you don't need to pay a second subscription to install on a second domain.
Personalization for signed-in users is the layer that teams often add a week or two after the basic install is live. The mechanism is deliberately simple on purpose: before the widget loads on a logged-in page, your site assigns a window.Asyntai.userContext object with whatever fields you want the assistant to know about the viewer — their first name, their plan, their last order, a role, a CRM segment. The assistant picks those fields up as context and folds them into replies. Because your site populates the object (rather than Asyntai reading your database), you decide exactly which fields are exposed. For a SaaS app, this often means the assistant can say "your renewal is on the 14th" instead of "please log in to check your renewal." That level of relevance is what shifts an installed chat widget from neat to actually valuable.
Performance-conscious teams usually ask what adding the widget does to their site's speed before they install. The honest answer is: the loader is async, and the widget's assets render in after the rest of the page has loaded. Visitors aren't waiting on chat before they see content. For sites that care about the specific numbers, we recommend installing on a staging URL first and running whatever measurement tool you already trust — WebPageTest, your analytics RUM data, your internal dashboards — before pushing to production. Most teams find the difference negligible on real traffic, but confirming it on your own stack is always a better answer than taking a vendor's word for it.
The moment that separates installing a widget from adopting one is when the first visitor conversation happens without anyone on your team noticing. A question arrived, an answer was given, the visitor kept browsing, and nobody on your side had to act. That's the outcome the install is meant to produce: a channel that handles the easy questions quietly, captures the hard questions cleanly, and gives your team more signal than noise over time. Adding AI chat for your website isn't the goal in itself — the goal is the quiet work it does after it's there. The install is the five minutes between you and that quieter website.